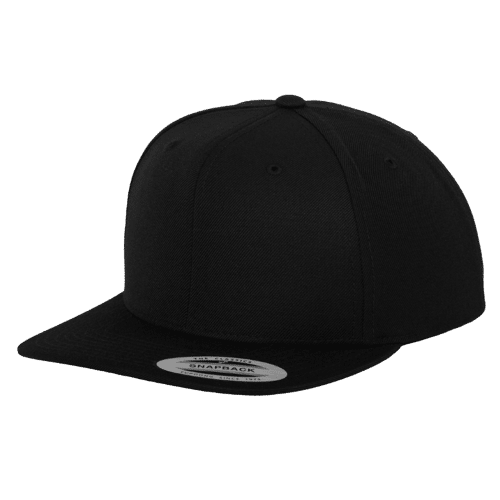
If you’re looking to add a personal touch to your New Era hat, custom printing is a great option. Whether you want to showcase your favorite design, logo, or artwork, this ultimate guide will walk you through the step-by-step process of printing your own design onto your favorite cap. Get ready to create a one-of-a-kind hat that reflects your unique style and personality.
Choose the Right Hat and Design.
The first step in customizing your New Era hat is to choose the right hat and design. Consider the style and color of the hat that you want to customize, as well as the design or artwork that you want to print onto it. Make sure that the design is suitable for the size and shape of the hat, and that it will look good once printed. Take your time to select the perfect combination that will make your hat stand out from the crowd.
Prepare Your Design for Printing.
Once you have chosen the design for your New Era hat, it’s important to prepare it for printing. This involves making sure that the design is in the correct format and size for printing. If you are using a digital design, ensure that it is in a high-resolution format and that it is compatible with the printing method you will be using. If you are using a physical design, such as a stencil or transfer, make sure that it is clean and free from any imperfections. Taking the time to properly prepare your design will ensure that it looks great once printed onto your hat.
Select the Right Printing Method.
When it comes to printing your design onto your New Era hat, it’s important to choose the right printing method. There are several options to consider, including screen printing, heat transfer, and embroidery. Each method has its own advantages and disadvantages, so it’s important to do your research and choose the one that best suits your design and budget. Screen printing is a popular choice for its durability and vibrant colors, while heat transfer allows for more intricate designs and customization. Embroidery offers a classic and professional look, but may be more expensive. Consider the look you want to achieve and the longevity of the design when selecting the right printing method for your custom New Era hat.
Set Up Your Printing Equipment.
Before you can start printing your design onto your New Era hat, you’ll need to set up your printing equipment. The specific equipment you’ll need will depend on the printing method you choose. For screen printing, you’ll need a screen printing press, screens, squeegees, and ink. Heat transfer requires a heat press machine and transfer paper. Embroidery requires an embroidery machine and thread. Make sure you have all the necessary equipment and that it is properly set up before you begin the printing process. This will ensure that you achieve the best results and that your custom New Era hat turns out exactly how you envisioned it.
Print Your Design onto the Hat.
Once you have your printing equipment set up, it’s time to print your design onto your New Era hat. If you’re using screen printing, start by preparing your screen with the desired design. Apply the ink onto the screen and use a squeegee to evenly distribute it over the design area. Carefully place the hat onto the screen and apply pressure to transfer the ink onto the fabric. Lift the hat off the screen and let it dry.
For heat transfer, print your design onto transfer paper using a printer. Preheat your heat press machine to the recommended temperature and place the hat onto the press. Position the transfer paper with the design onto the hat and close the press, applying firm pressure for the specified time. Open the press and peel off the transfer paper to reveal your printed design.
If you’re using embroidery, program your embroidery machine with the desired design. Hoop the hat and attach it to the machine. Start the embroidery process and let the machine stitch the design onto the hat. Once the embroidery is complete, remove the hat from the machine and trim any excess threads.
No matter which printing method you choose, make sure to follow the instructions carefully and take your time to ensure a high-quality print. With the right equipment and technique, you’ll be able to print your own design onto your New Era hat and create a unique and personalized accessory.


